
How to Take High-Quality Product Photography with Your Smartphone?
In today’s digital age, having high-quality product photography is essential for any business or individual looking to showcase their products online. Fortunately, with the advancements in smartphone technology, taking professional-grade photos has become more accessible than ever before.
In this guide, we will explore how to take high-quality product photography using your smartphone.
Choose the Right Location

The first step in capturing stunning product photography is choosing the right location. A well-lit area with natural light is essential to ensure that your product is well-lit, and the colors are accurately represented. If you’re shooting indoors, try to find a window or a well-lit area near a door to take advantage of natural light. If you’re shooting outdoors, choose a shaded area or an overcast day to avoid harsh shadows and overexposure.
Clean Your Product and Background

Before you start taking photos, make sure your product and background are clean and free of dust and debris. A dirty product can be distracting and take away from the overall aesthetic of the photo. Additionally, a clean background will help make your product stand out and give it a professional look.
Use a Tripod or Stabilizer
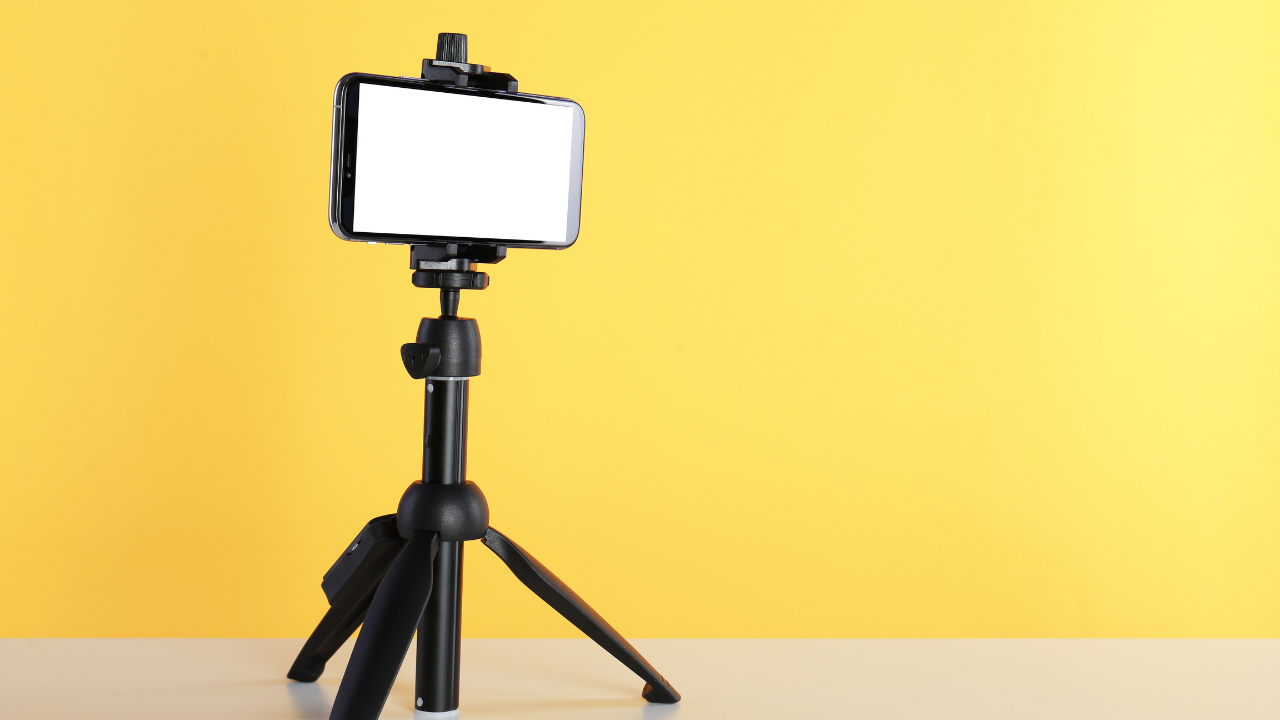
To ensure your photos are sharp and in focus, it’s best to use a tripod or stabilizer. This will help prevent camera shake and ensure that your product is the main focus of the image. If you don’t have a tripod or stabilizer, you can prop your phone up on a stable surface, like a table or shelf.
Set Up Your Shot

Once you’ve chosen your location and cleaned your product, it’s time to set up your shot. Start by framing your product in the center of the shot and adjusting the angle to your liking. You can also experiment with different angles and perspectives to find the perfect shot.
Adjust Your Settings

To ensure your photos are well-exposed and in focus, it’s important to adjust your camera settings. Most smartphones have manual settings that allow you to adjust the exposure, focus, and white balance. Experiment with these settings to find the best combination for your product.
Edit Your Photos
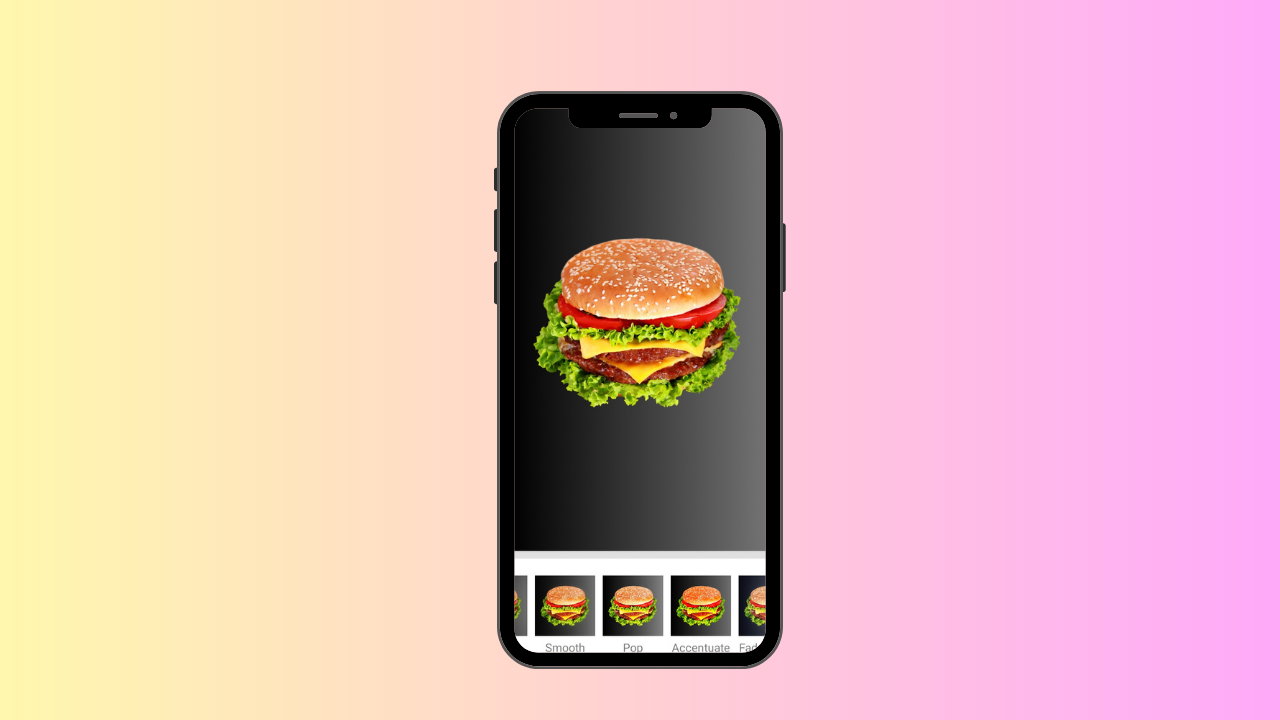
After you’ve taken your photos, it’s time to edit them to make them look their best. Most smartphones have built-in photo editing tools that allow you to adjust the brightness, contrast, and color of your photos. You can also use third-party editing apps to add filters and effects to your photos.
Tips for at-home Product Photography on Smartphones

Product photography is essential for any online business, but not everyone has access to a professional studio or expensive equipment. Fortunately, you can still capture great product photos with just your smartphone and some simple tricks. Here are some tips for at-home product photography on smartphones:
1. Choose the Right Background
Use a clean, solid-coloured background to make your product stand out. A white or neutral-coloured background will work best as it will not clash with your product. You can use a plain wall, a white sheet, or a foam board as a backdrop.
2. Use Natural Lighting: Natural lighting is the best way to capture clear and vibrant product photos. Take advantage of the natural light available in your home and position your product near a window or door. Avoid using artificial lighting or flash, as they can create harsh shadows and overexposure.
3. Adjust the Exposure: The exposure setting on your smartphone camera controls how much light is allowed into the lens. Adjusting the exposure can help make your product look brighter or darker. You can adjust the exposure by tapping on the screen where you want the camera to focus, and then sliding the exposure bar up or down.
4. Use the Rule of Thirds: The rule of thirds is a composition guideline that can help create visually appealing product photos. Divide the frame into three equal parts horizontally and vertically and place your product at the intersection of the lines.
5. Experiment with Angles: Experiment with different angles to find the best shot. Try taking photos from above, at eye level, or from a low angle. Angling your camera slightly can help create depth and make your product look more dynamic.
6. Use Editing Apps: Editing apps can help enhance your product photos and make them look more professional. Use apps like VSCO, Lightroom, or Snapseed to adjust the brightness, contrast, and saturation of your photos. You can also use these apps to add filters or remove any unwanted blemishes.
Conclusion
At-home product photography on smartphones is not as difficult as it may seem. By following these tips, you can capture great product photos that will make your business stand out online. Remember to choose the right background, use natural lighting, adjust the exposure, use the rule of thirds, experiment with angles, use editing apps, and shoot in high resolution.


Responses